Create and tour a project
Create a project inside a workspace, then review the controls it uses for flows, models, integrations, and API access.
Before you begin
You need access to the destination workspace and permission to create projects. An organization administrator can provide that access from Settings → Users.
1. Open a workspace
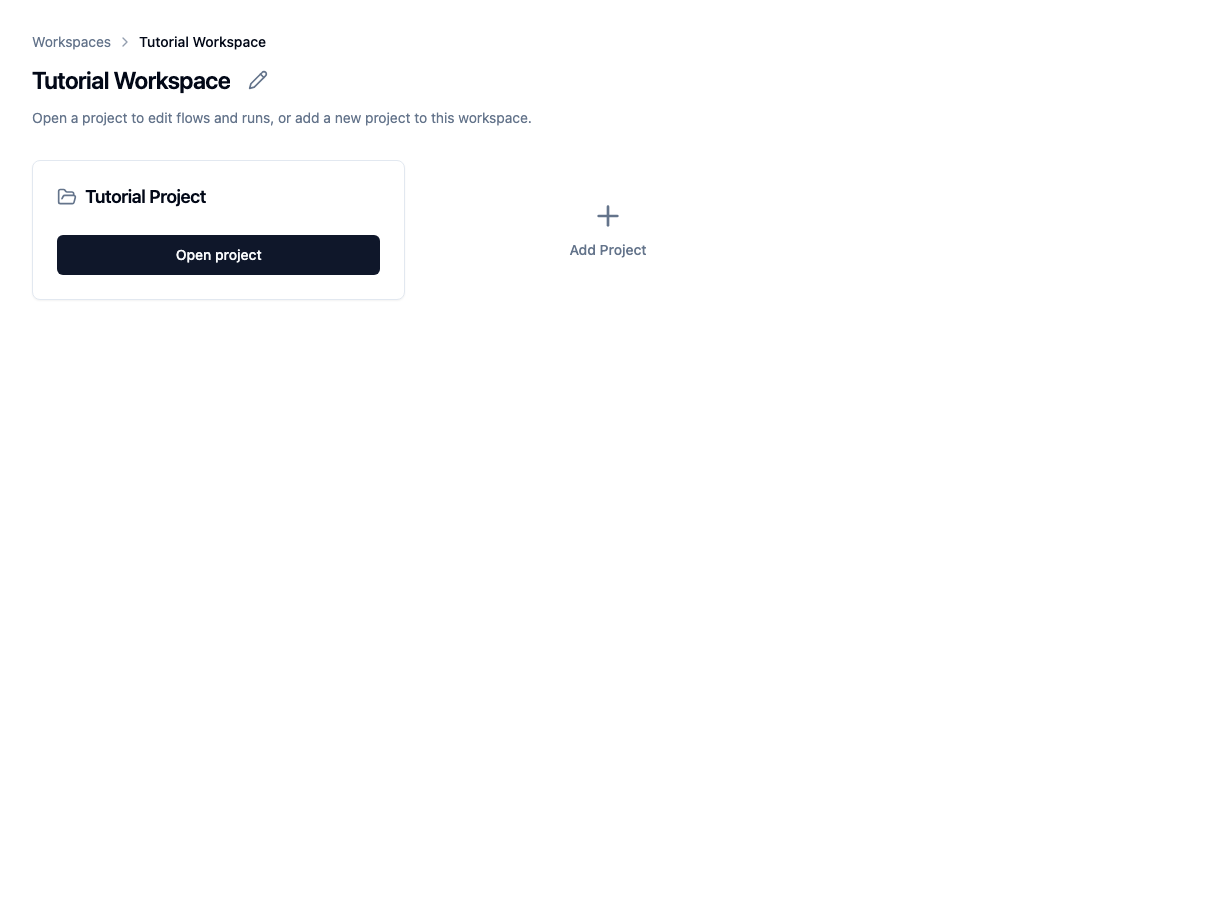
From the Agate home page, open Tutorial Workspace.
A workspace groups projects that belong to the same team or body of work. The Tutorial Workspace currently contains Tutorial Project.
2. Create a project
- Choose Add Project.
- Enter a clear project name.
- Choose Create.
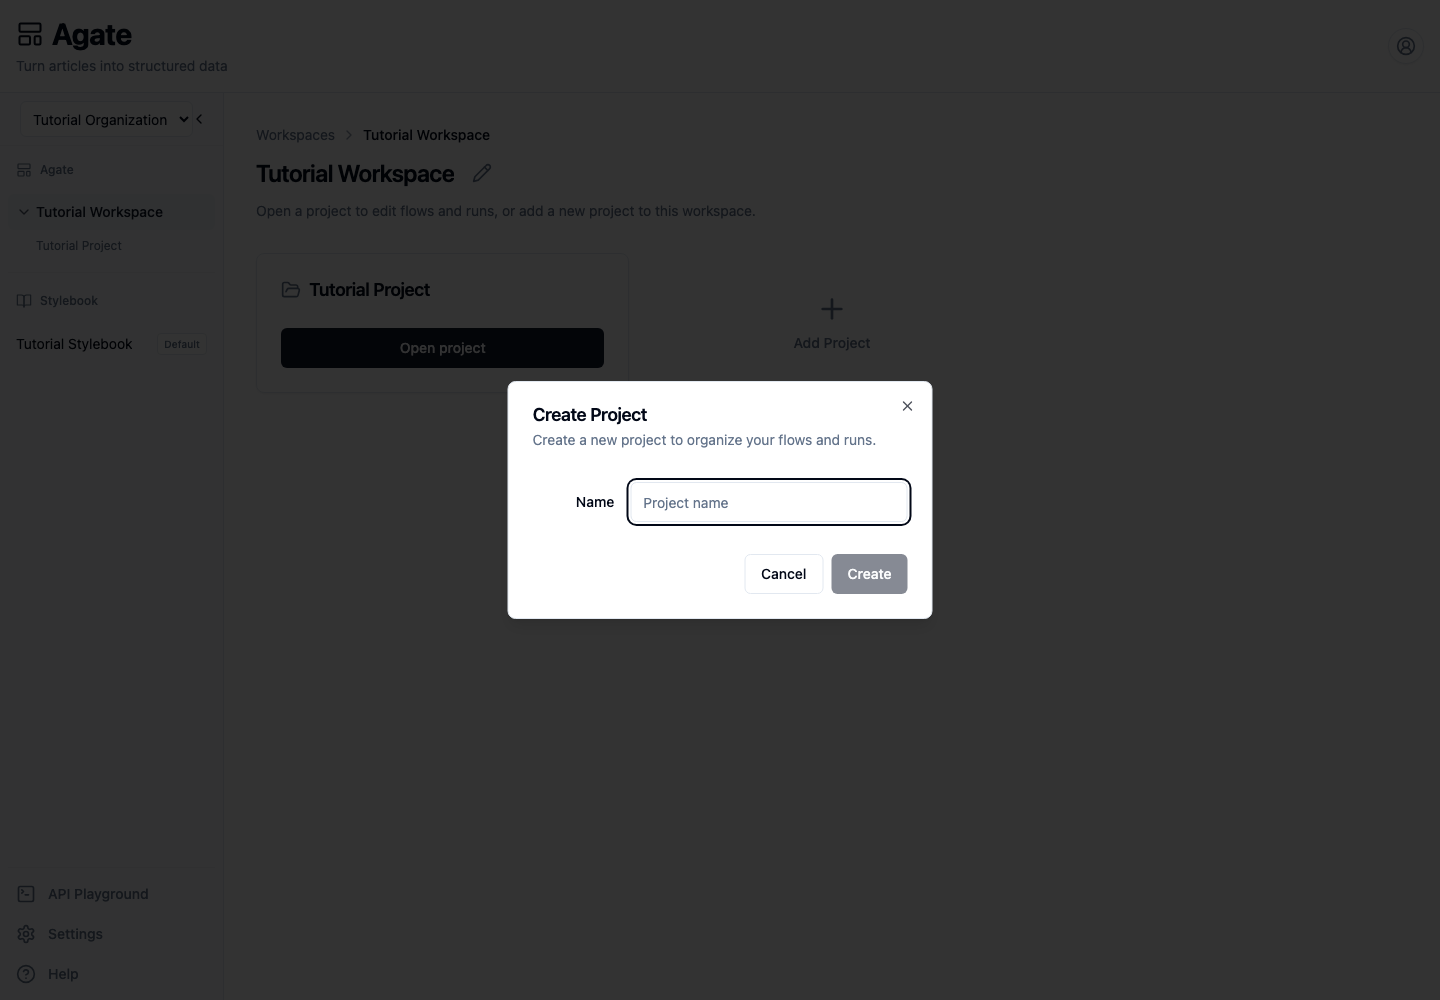
Agate generates the project's internal slug from its name.
The new project uses the workspace's default Stylebook. That assignment is fixed when the project is created, so confirm the workspace uses the intended Stylebook first.
3. Read the project overview
Open the project. The overview summarizes:
- completed, active, and stopped runs;
- estimated AI usage cost;
- average cost and processing time per processed item.
These cards remain empty until the project has run a flow.
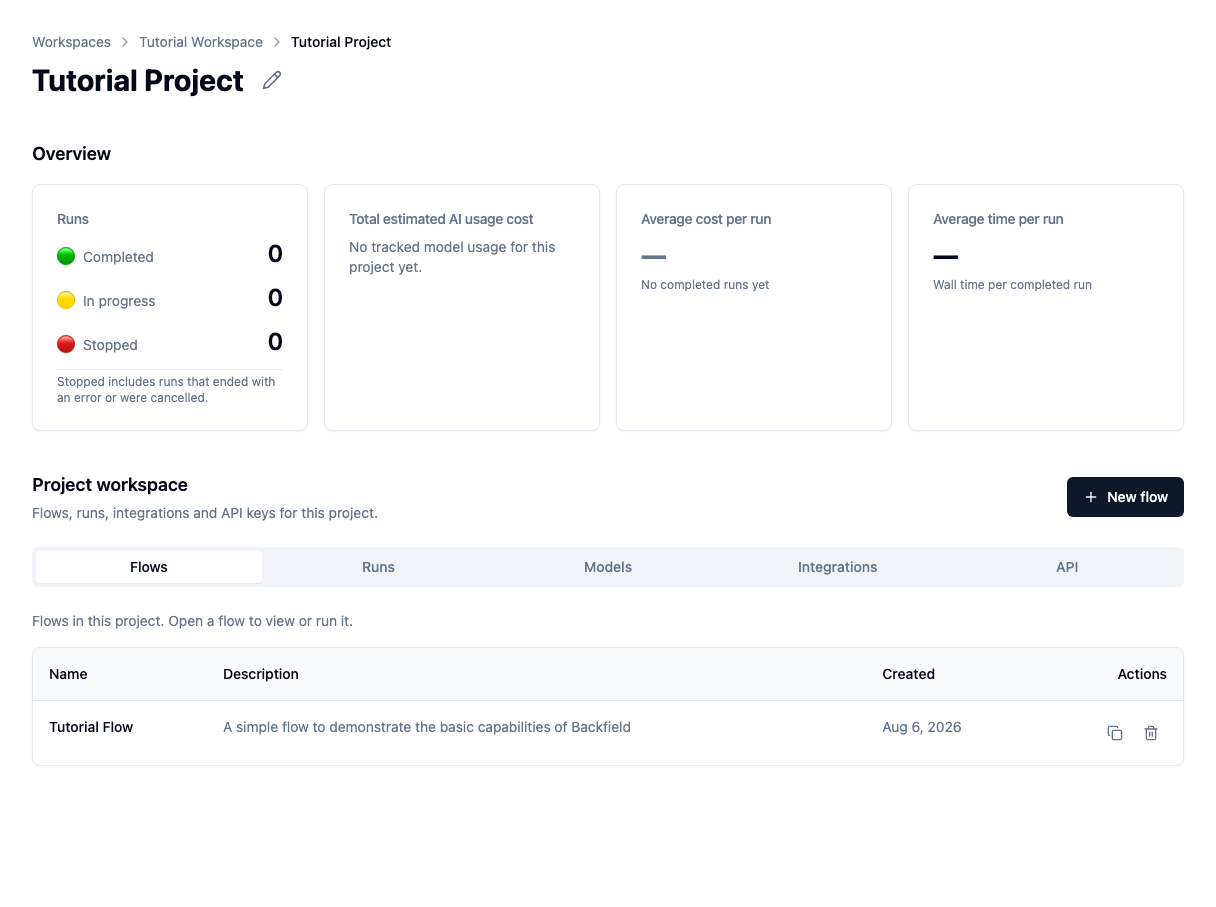
The lower part of the page contains six tabs:
- Flows lists reusable processing workflows.
- Runs lists current and previous executions, with pagination when the list is long.
- Articles lists processed items across runs and supports search by headline or URL.
- Models controls the models available to this project.
- Integrations controls project-specific credential overrides.
- API manages keys for outside applications.
Tutorial Flow already appears under Flows.
4. Check models and the Stylebook
Open Models.
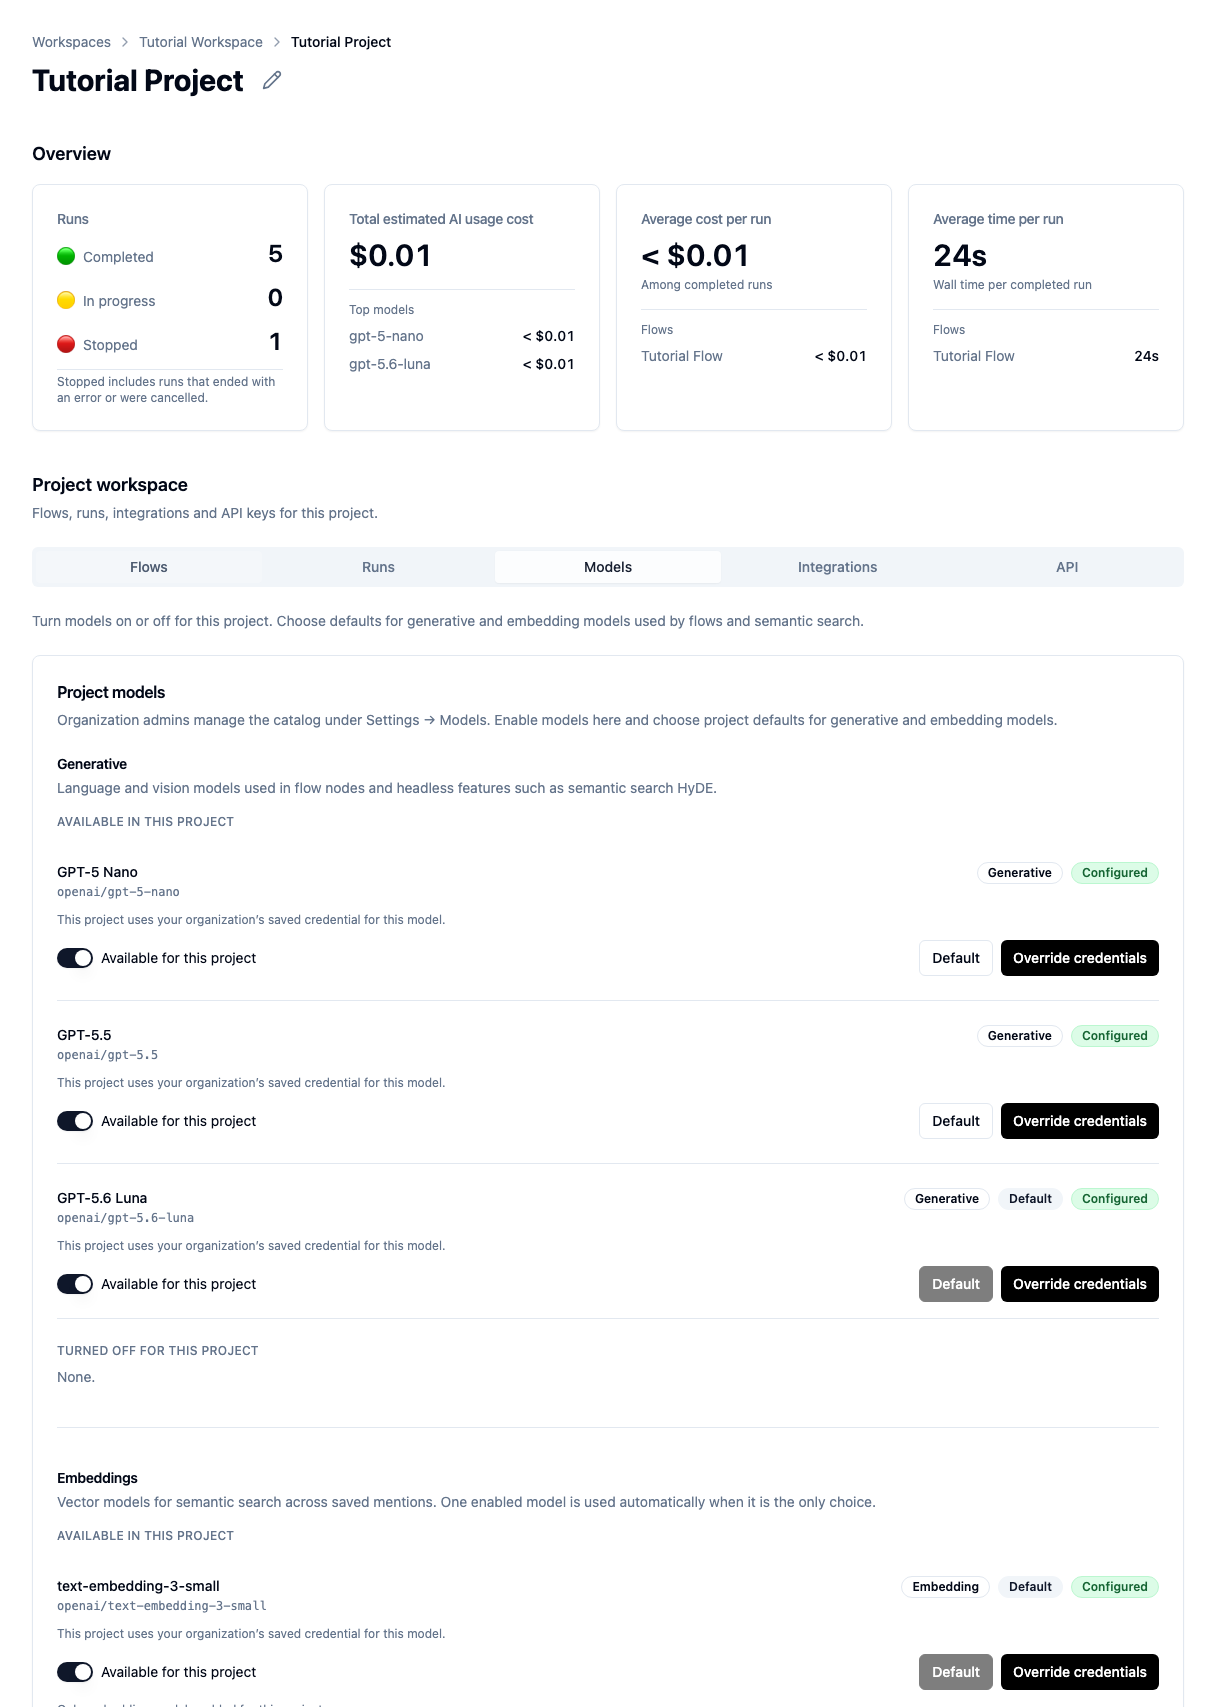
Before running a flow, confirm that:
- a generative model is available and marked Default;
- an embedding model is available and marked Default when the project uses semantic search;
- each model shows Configured;
- the listed Stylebook is correct.
The Tutorial Project uses GPT-5.6 Luna, text-embedding-3-small, and Tutorial Stylebook.
The bottom of this tab also contains the project System prompt. Add one only when every AI call in this project needs the same standing instruction. Keep node-specific extraction instructions on the individual flow nodes.
5. Check integrations
Open Integrations.
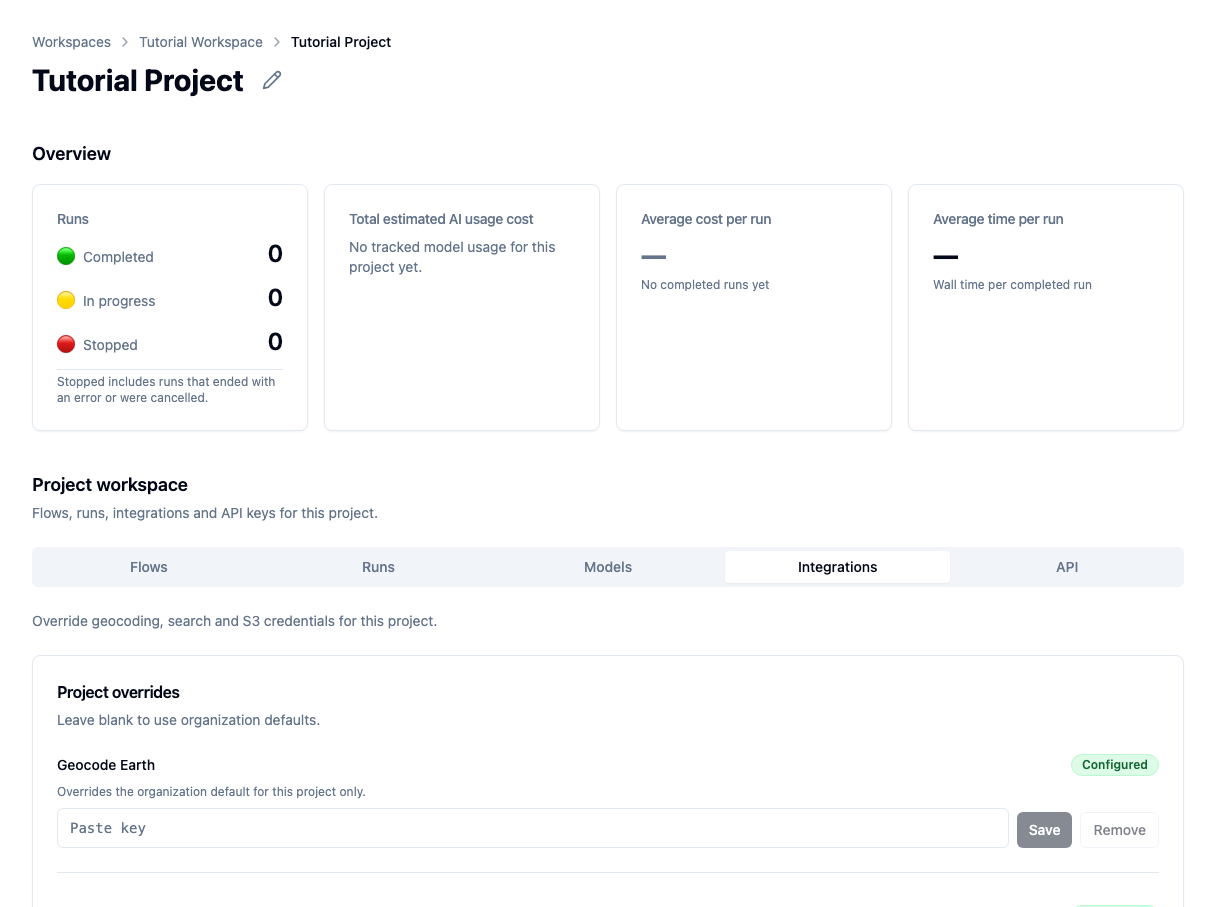
Configured means the project can use the organization's saved credential. Leave an input blank to keep inheriting that credential.
Add an override only when this project needs a separate provider account, quota, or storage boundary. Removing the override returns the project to the organization default.
6. Review API access
Open API.
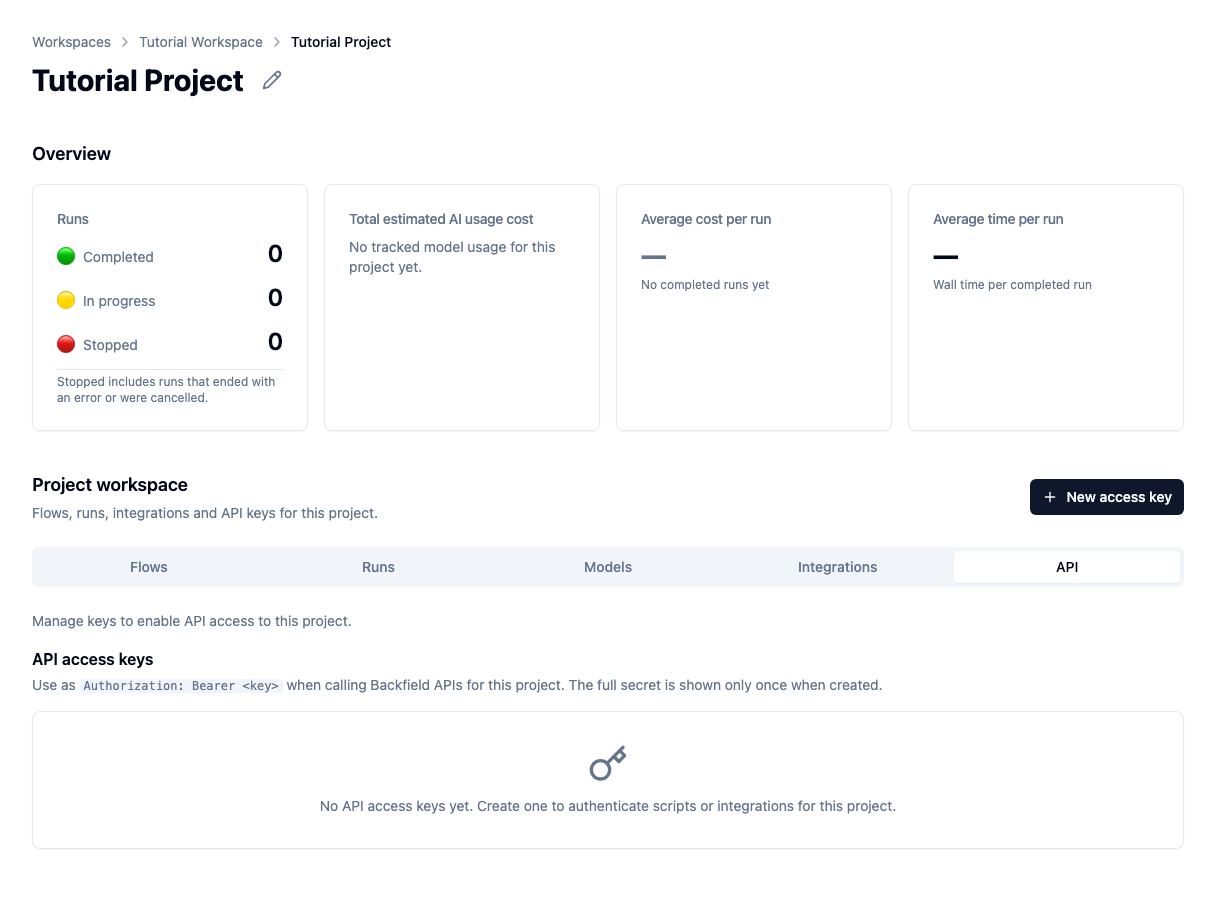
API keys belong to one project and grant outside tools access to that project's data. The full secret is displayed only once when the key is created.
Do not create a key until you need to connect a script or application. Continue with Create an API key when you are ready.
Next step
The Tutorial Project is now ready for a flow. Continue with Build your first flow.